Hello!
This site is going to be an attempt at making a guide/walkthrough for Garage: Bad Dream Adventure because I couldn't find English walkthroughs that were text-based.
Most of the information is incomplete at the moment, but feel free to peruse! I hope it can be helpful. :)
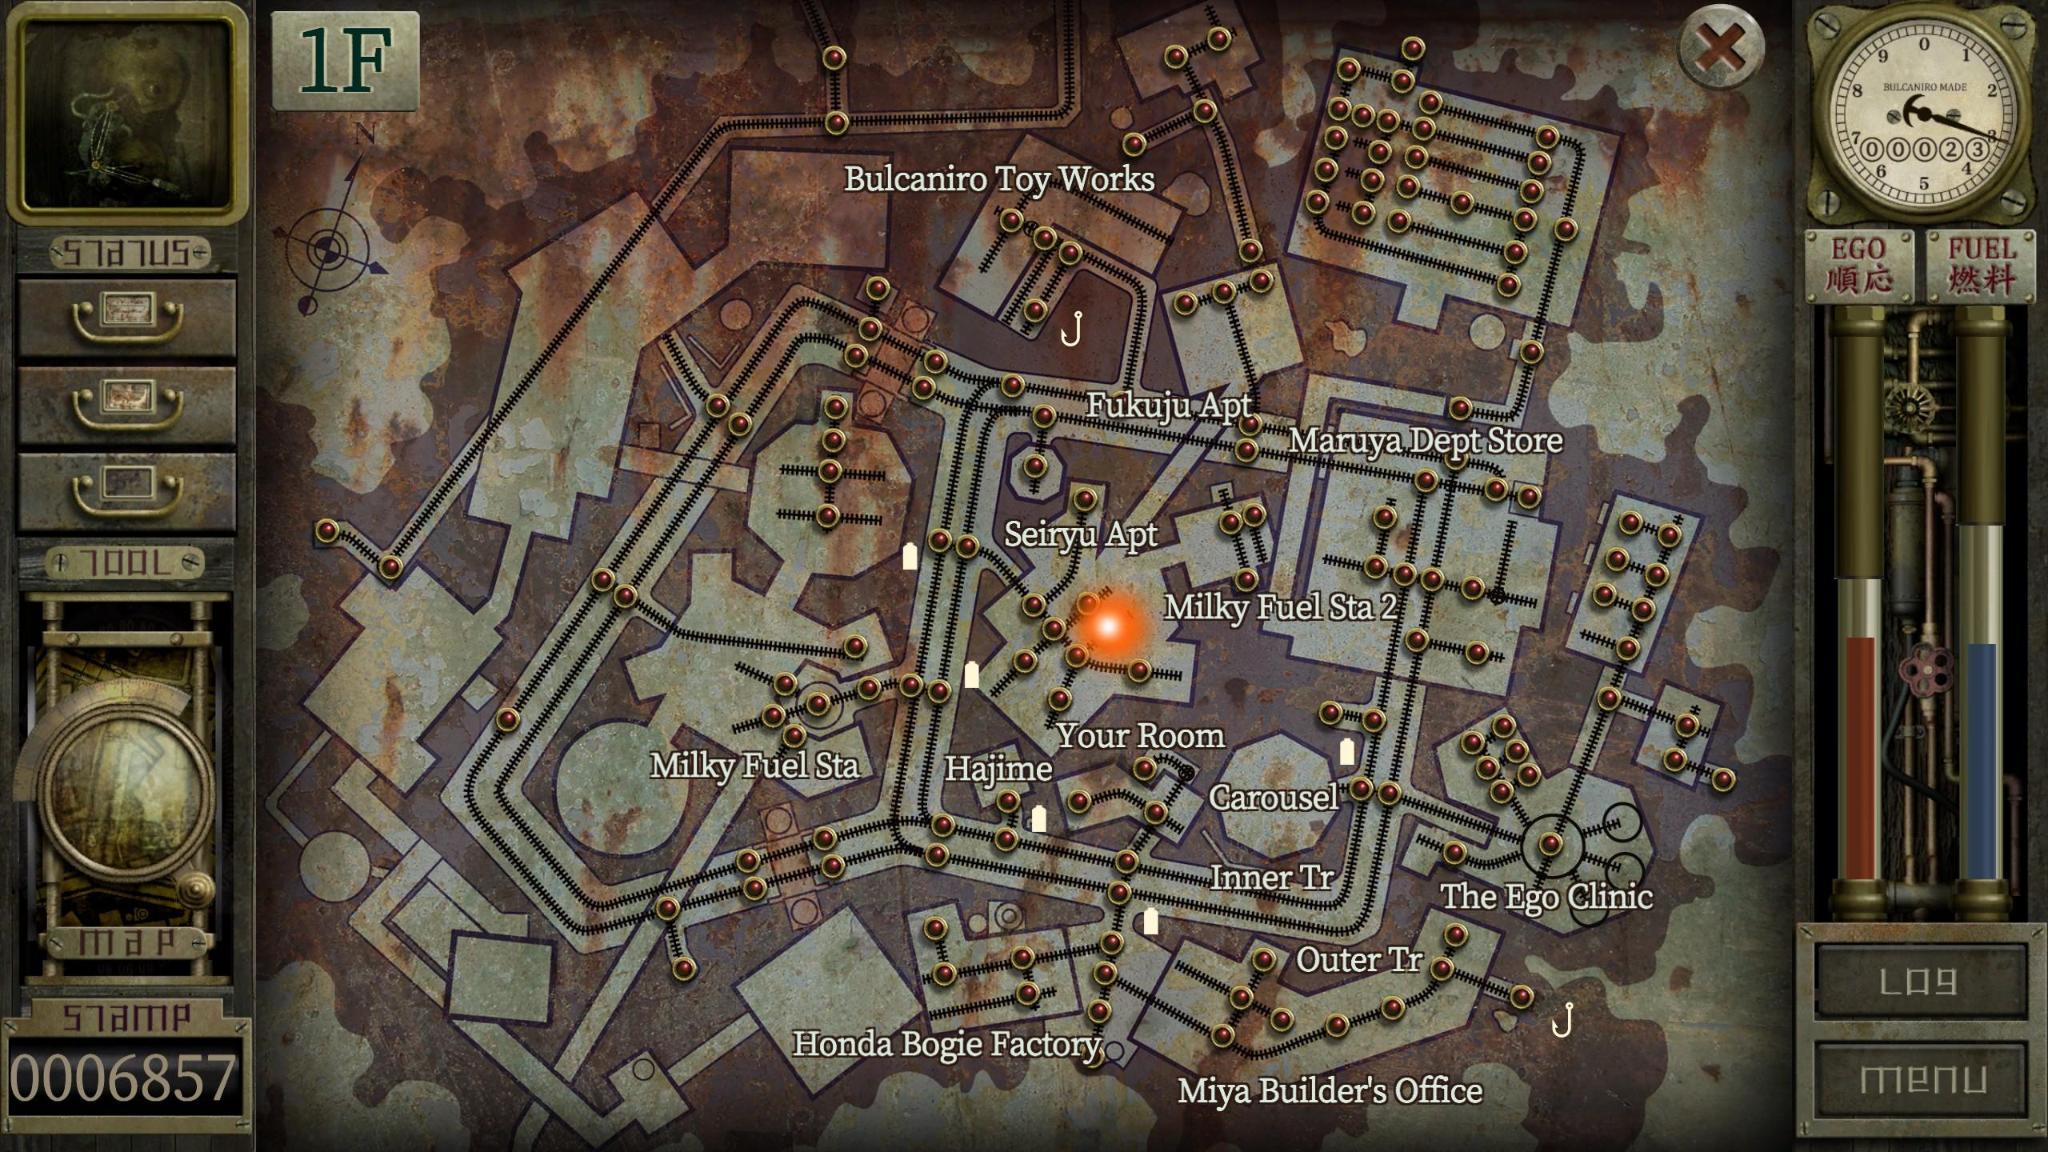
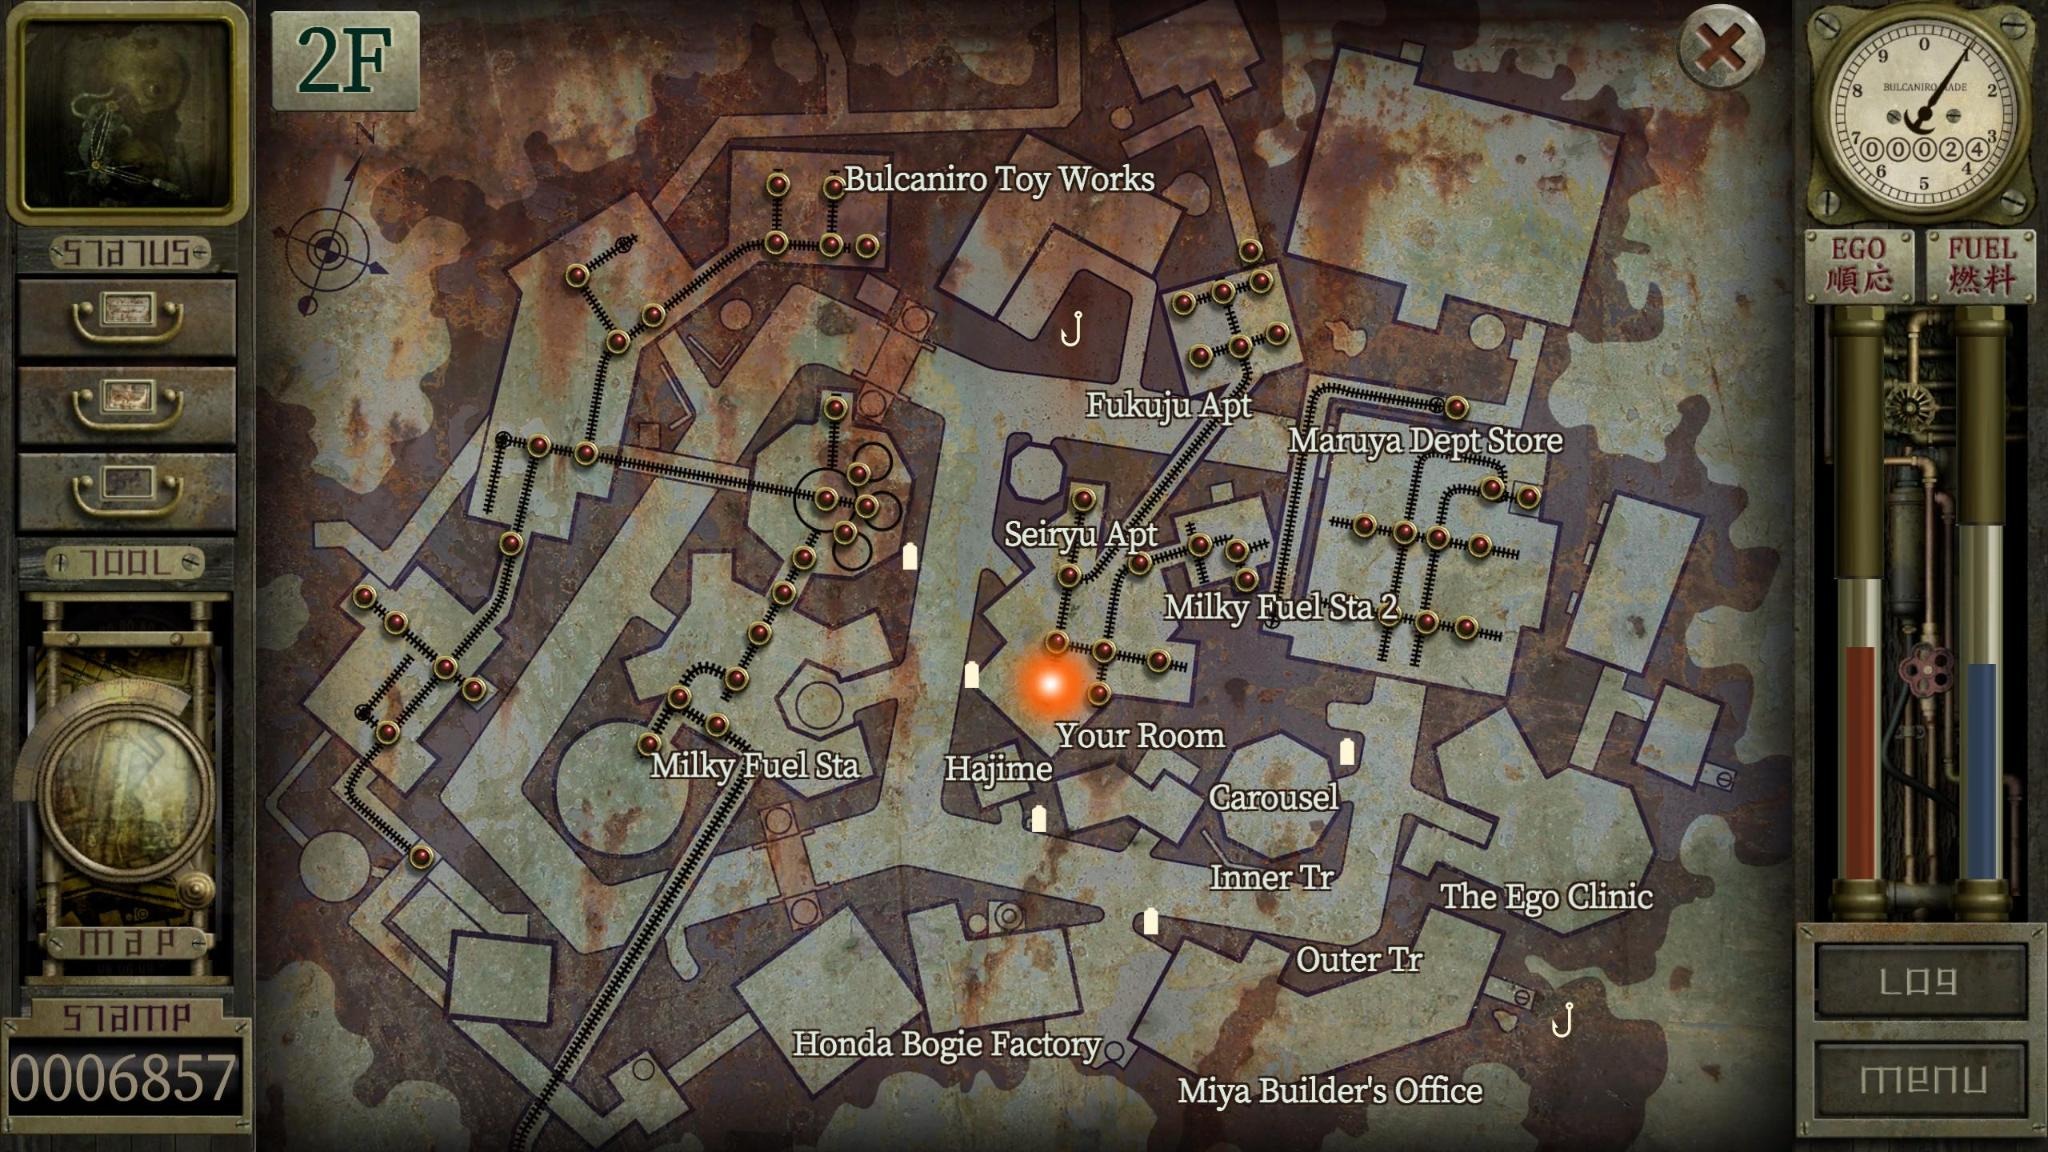
Map
Mechanics
Word Lost
Below a certain Ego level, you will no longer be able to speak. The only way to regain the ability to speak is to refill your Ego with Ego Recovery Liquid, or by visiting the Ego Clinic.
Laps/Revolutions
The meter in the top right shows the current "time" as well as a count of how many "laps" or revolutions of the meter's dial have passed since you started playing.
Walkthrough
Chapter 0: Intro
- You wake up in your room with full fuel but approx ~ 1/5 Ego, which means you are word lost
- Turn on the light by flipping the switch at the bottom left of the mirror in front of you
-
Take all glowing items
- Notes
- Music Box
- Stamps x450
-
Step back and take all items in your room
- Fishing Pole
- Portable Milky Fuel
- Bottle Traps
- Leave room and go down, left, up to talk to Hajime
-
Go to the Ego Clinic (marked on your map), and talk to Gimnon so you can refill your Ego meter. You can also visit the cooling stations inside the Ego Clinic and make achievement progress if you talk to the machines who are using the cooling fans.
Opinion
You can choose either the 50 stamp option or the 20 stamp option for Ego refills. I think both are fine. You can make money pretty quickly, so 50 stamps isn't that much in the grand scheme of things, plus you'll get progress toward the in-game achievements for doing both. - This triggers the start of Chapter 1: Psyche
Chapter 1: Psyche
- Return to Hajime and speak to him. He will advise you to talk to Lee, since he owns the Milky Fuel Station #2, and knows Yang, who is friends with Psyche.
- You are now free to move around the map. This is a good time to repair your broken music box (although it is not mandatory yet). To repair it, go to Bulcaniro toy works and talk to Bulcaniro
- Bulcaniro will take the music box and fix it after 3 revolutions/laps, returning it to you along with a musical score "Bulcaniro's Score"
- Go to Milky Fuel Station #2 and fill up on fuel. Once you have done this, you can enter the "back door" of Milky Fuel Station #2 so that you are behind the counter standing face to face with Lee. If you try this before filling up, he will just tell you he's busy
- Lee will tell you that he needs 50 crabs, specifically 50 Mighty Claws (the most common crab type)
- It's time to start fishing!
Opinion
Fishing
Fishing is a central mechanic in Garage. In order to catch bigger fish, you will need to first catch or buy the correct bait as well as find the correct fish hook and upgrade your body, otherwise you will may have the strength to pull in larger catches, or the right gear to lure them.
Getting Bait
In order to catch bait to use with your fishing pole and hooks, you will need bottle traps, which can be set up at the winches (small machines with a little wheel and hand-crank that use a pully system to hold bottle traps in place) that are scattered around the map. Don't worry too much about running out of bottle traps, you can always buy more, and you will find more as you play through the game. Different winch locations may yield different crabs.
When setting a bottle trap, you can also add "Ground Bait" which comes in a silver or gold label pouch. These will help you to catch more crabs with a single bottle.
Once the trap is set, you should wait before pulling it back up (unsure on the exact amount of time, but I would recommend probably waiting at least one lap), otherwise you will not get any crabs, and you will lose both the bottle and bait.
Fishing Locations
Once you have bait you can find fishing locations around the map that you can fish at. These locations may attract different types of fish, some of which you won't be able to catch until you have upgraded your body. You can get in-depth information on how to catch specific fish by visiting Gonbe's Fishing Tackle, as well as other sources. You can also see the fishing information here.
Fishing Information
Required Stage: None
-
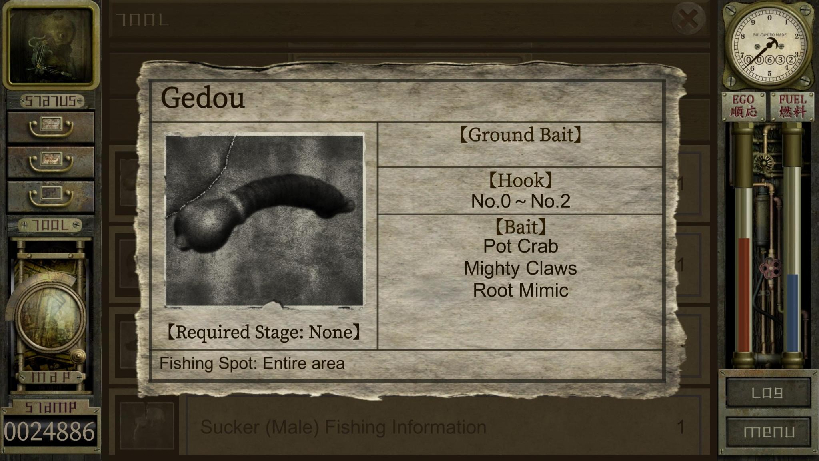
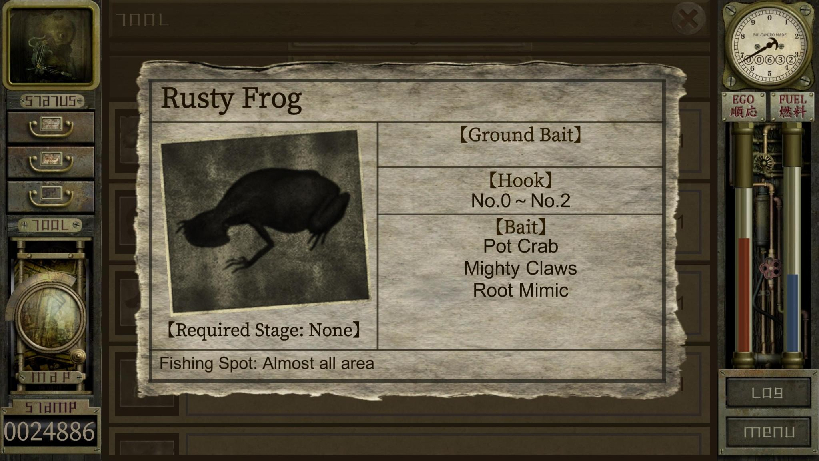
Gedou
Ground Bait: None
Hook: No.0 ~ No.2
Bait: Pot Crab, Mighty Claws, Root Mimic
Required Stage: None
Fishing Spot: Entire area -
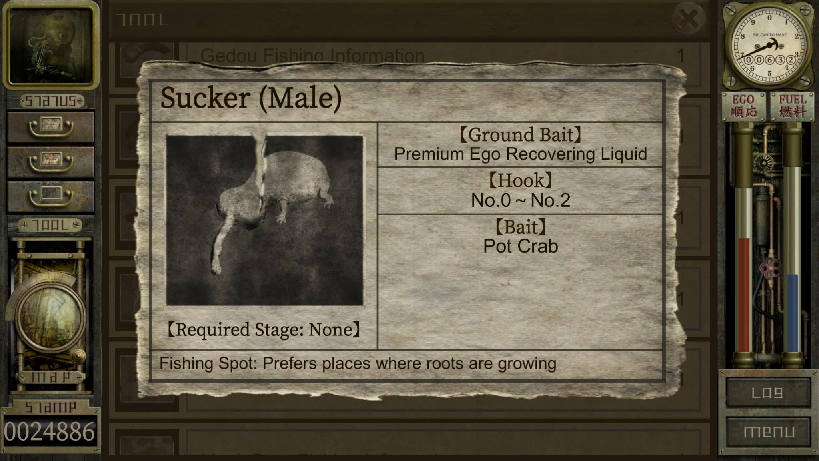
Sucker (Male)
Ground Bait: Premium Ego Recovering Liquid
Hook: No.0 ~ No.2
Bait: Pot Crab
Required Stage: None
Fishing Spot: Prefers places where roots are growing -
Spoon Head
Ground Bait: None
Hook: No.0 ~ No.2
Bait: Pot Crab, Mighty Claws, Root Mimic
Required Stage: 2
Fishing Spot: Almost all area -
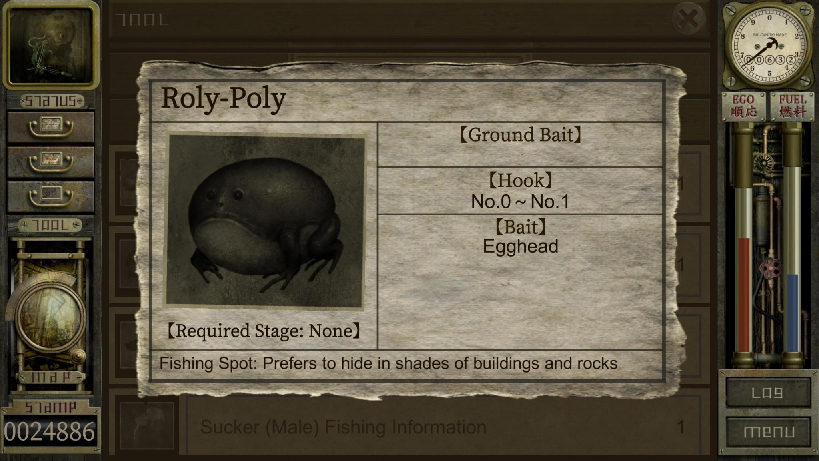
Roly-Poly
Ground Bait: None
Hook: No.0 ~ No.1
Bait: Egghead
Required Stage: None
Fishing Spot: Prefers to hide in the shades of buildings and rocks -
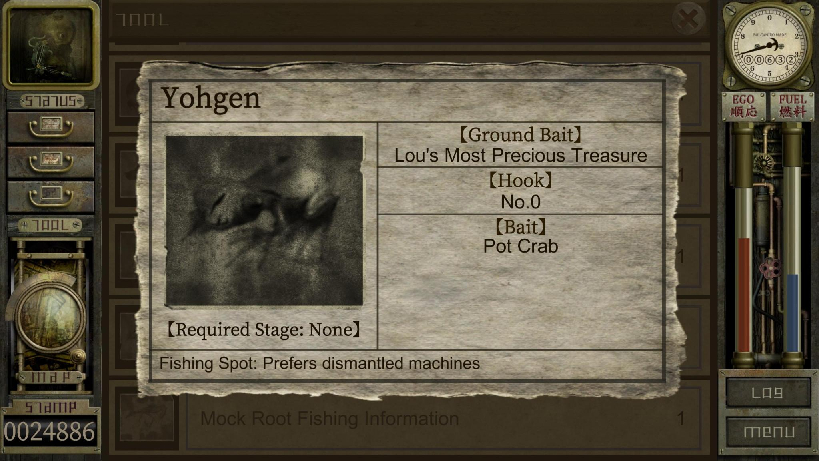
Yohgen
Ground Bait: Lou's Most Precious Treasure
Hook: No.0
Bait: Pot Crab
Required Stage: None
Fishing Spot: Prefers dismantled machines
Required Stage: 1
-
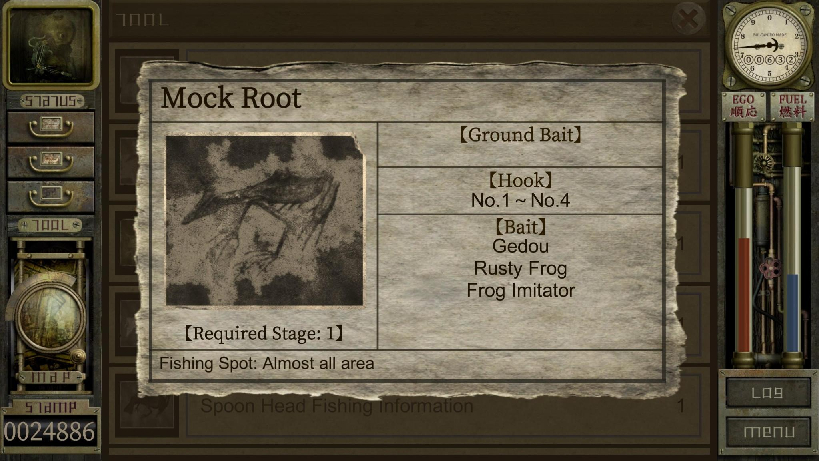
Mock Root
Ground Bait: None
Hook: No.1 ~ No.4
Bait: Root Mimic, Gedou, Rusty Frog, Frog Imitator
Required Stage: 1
Fishing Spot: Almost all area -
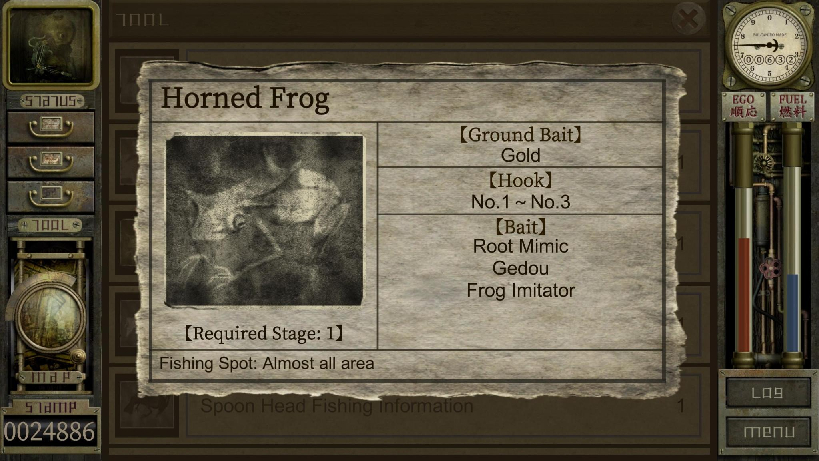
Horned Frog
Ground Bait: Gold
Hook: No.1 ~ No.3
Bait: Root Mimic, Gedou, Frog Imitator
Required Stage: 1
Fishing Spot: Almost all area
Required Stage: 2
-
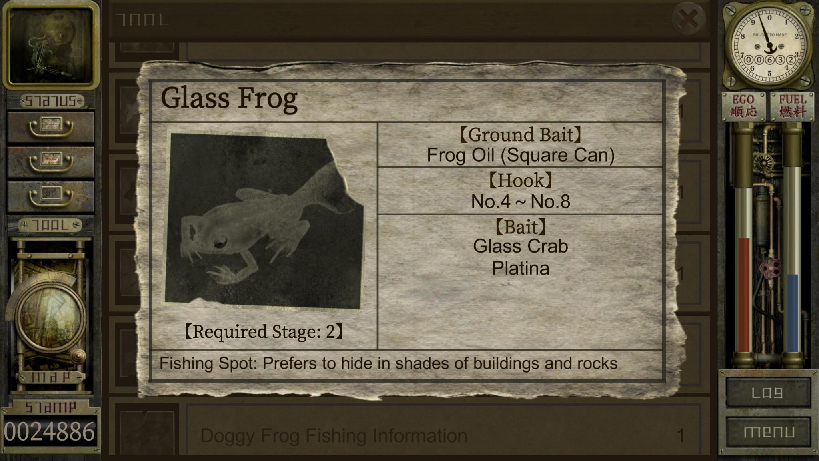
Glass Frog
Ground Bait: Frog Oil (Square Can)
Hook: No.4 ~ No.8
Bait: Glass Crab, Platina
Required Stage: 2
Fishing Spot: Prefers to hide in the shades of buildings and rocks -
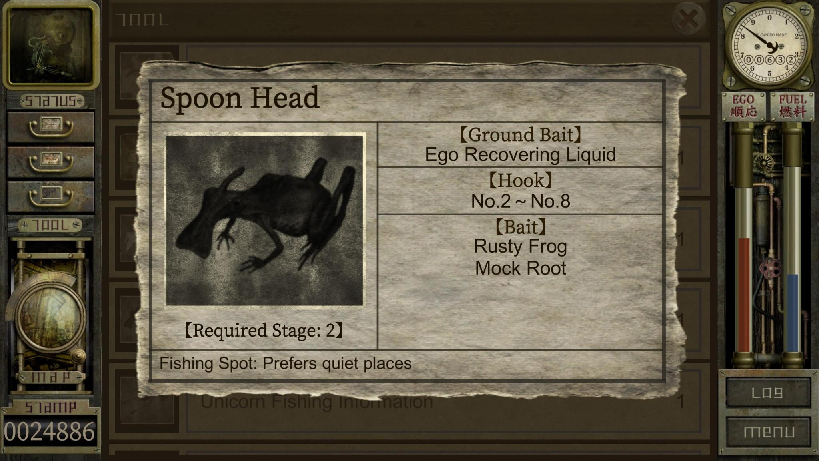
Spoon Head
Ground Bait: Ego Recovering Liquid
Hook: No.2 ~ No.8
Bait: Rusty Frog, Mock Root
Required Stage: 2
Fishing Spot: Prefers quiet places -
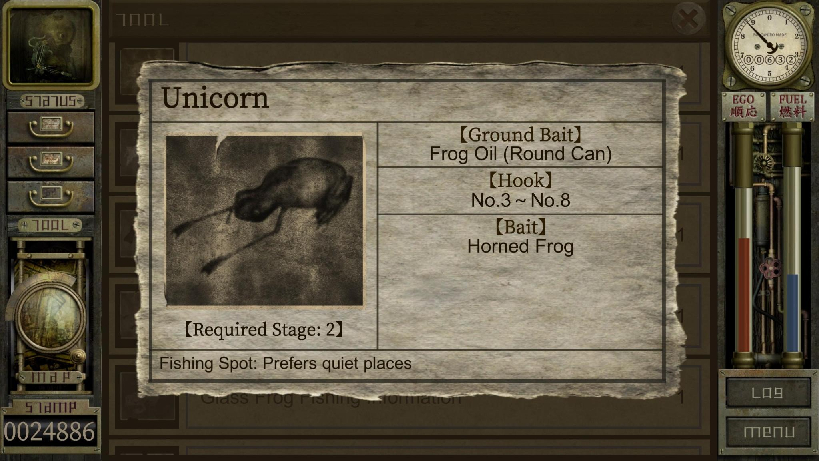
Unicorn
Ground Bait: Frog Oil (Round Can)
Hook: No.3 ~ No.8
Bait: Horned Frog
Required Stage: 2
Fishing Spot: Prefers quiet places -
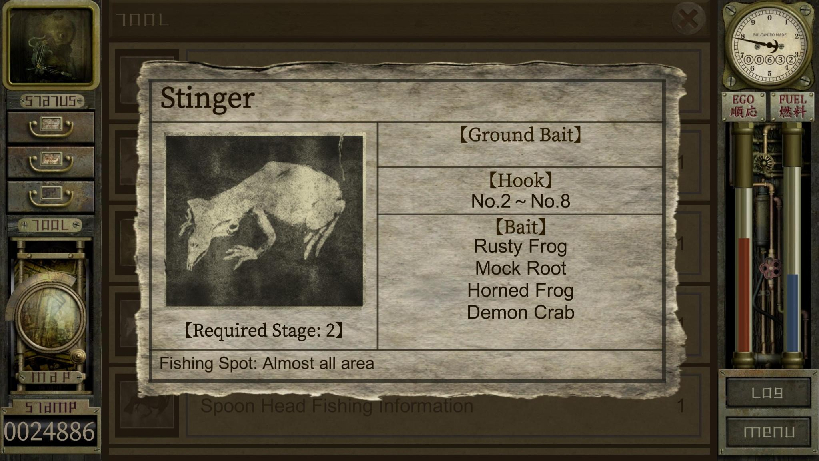
Stinger
Ground Bait: None
Hook: No.2 ~ No.8
Bait: Rusty Frog, FMock Root, Horned Frog, Demon Crab
Required Stage: 2
Fishing Spot: Almost all area -
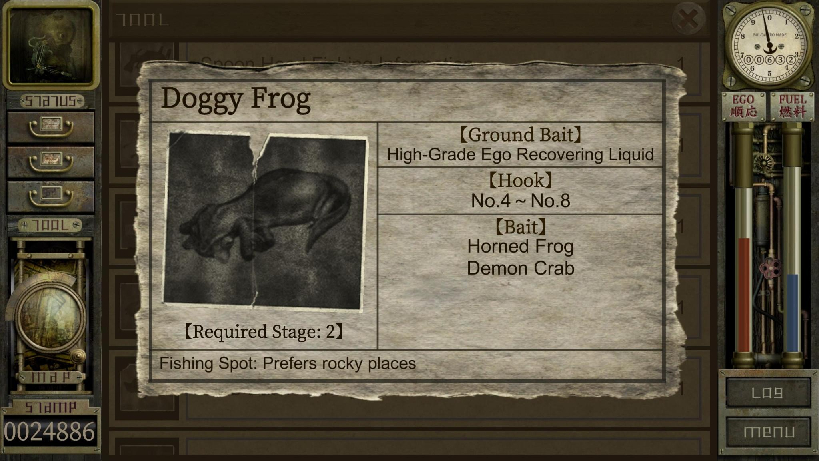
Doggy Frog
Ground Bait: High-Grade Ego Recovering Liquid
Hook: No.4 ~ No.8
Bait: Horned Frog, Demon Crab
Required Stage: 2
Fishing Spot: Prefers rocky places -
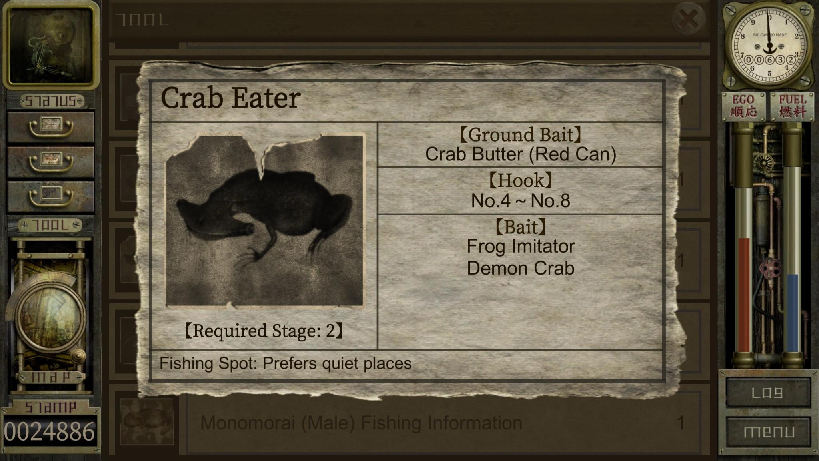
Crab Eater
Ground Bait: Crab Butter (Red Can)
Hook: No.4 ~ No.8
Bait: Frog Imitator, Demon Crab
Required Stage: 2
Fishing Spot: Prefers quiet places
Required Stage: 3
-
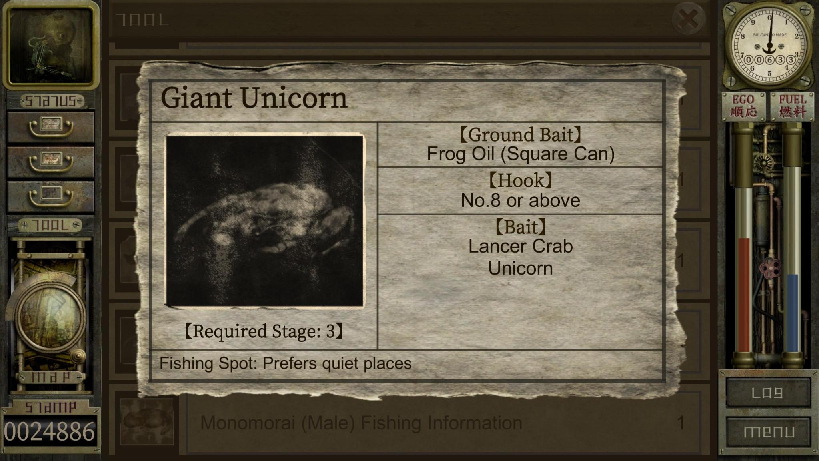
Giant Unicorn
Ground Bait: Frog Oil (Square Can)
Hook: No.8 or above
Bait: Lancer Crab, Unicorn
Required Stage: 3
Fishing Spot: Prefers quiet places -
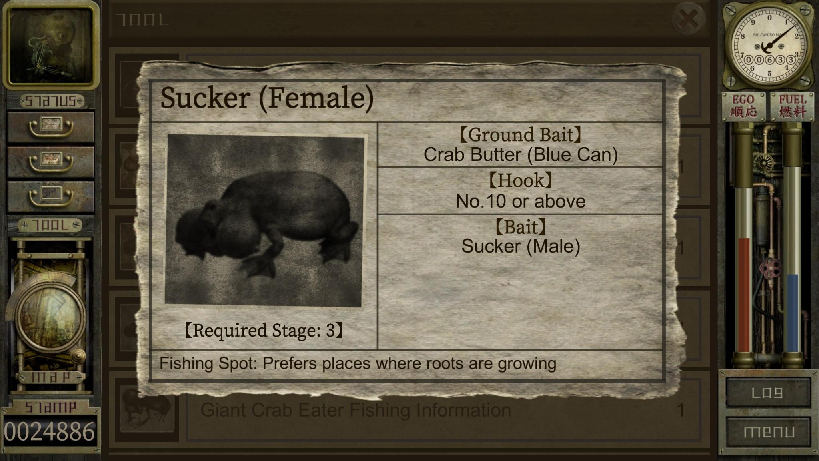
Sucker (Female)
Ground Bait: Crab Butter (Blue Can)
Hook: No.10 or above
Bait: Sucker (Male)
Required Stage: 3
Fishing Spot: Prefers places where roots are growing -
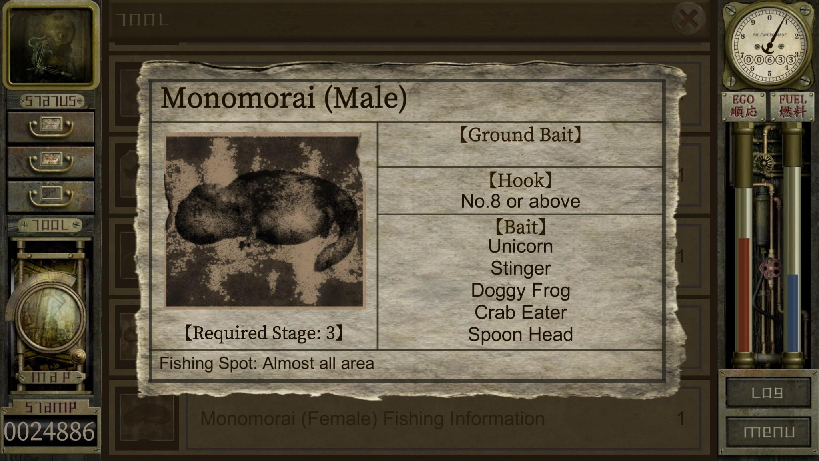
Monomorai (Male)
Ground Bait: None
Hook: No.8 or above
Bait: Unicorn, Stinger, Doggy Frog, Crab Eater, Spoon Head
Required Stage: 3
Fishing Spot: Almost all area -
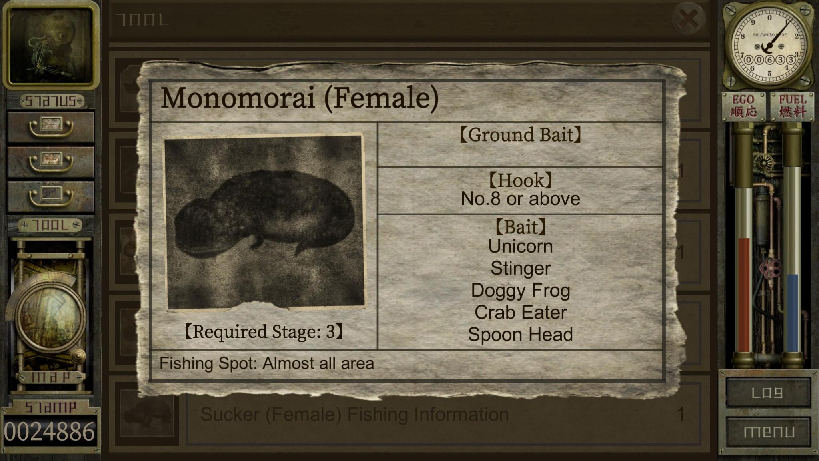
Monomorai (Female)
Ground Bait: None
Hook: No.8 or above
Bait: Unicorn, Stinger, Doggy Frog, Crab Eater, Spoon Head
Required Stage: 3
Fishing Spot: Almost all area
Required Stage: 4
-
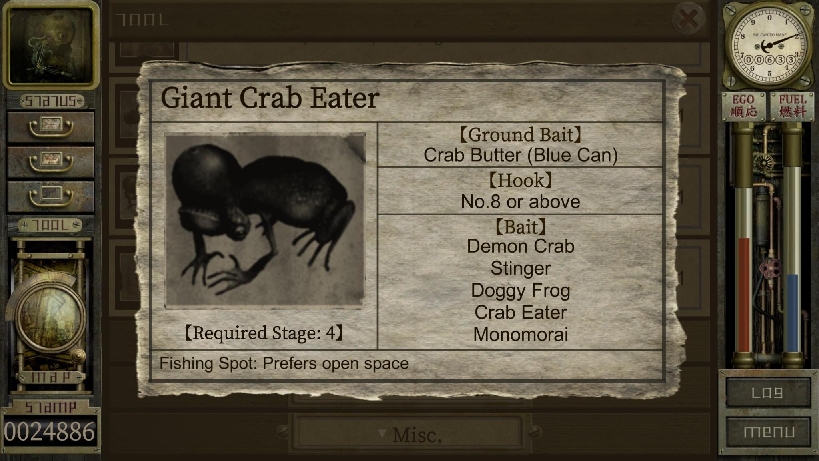
Giant Crab Eater
Ground Bait: Crab Butter (Blue Can)
Hook: No.8 or above
Bait: Demon Crab, Stinger, Doggy Frog, Crab Eater, Monomorai
Required Stage: 4
Fishing Spot: Prefers open space -
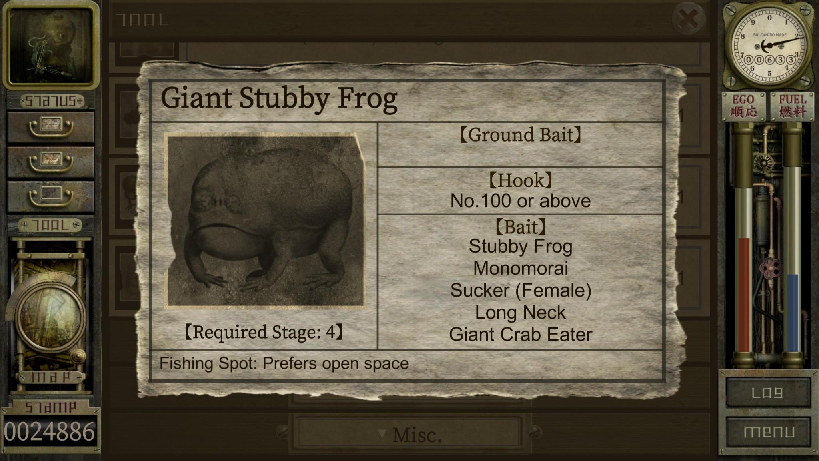
Giant Stubby Frog
Ground Bait: None
Hook: No.100 or above
Bait: Stubby Frog, Monomorai, Sucker (Female), Long Neck, Giant Crab Eater
Required Stage: 4
Fishing Spot: Prefers open space
Required Stage: Zero
-
Wang Shui
Ground Bait: None
Hook: No.100 or above
Bait: Suihou
Required Stage: Zero
Fishing Spot: Prefers open space
Siger Specimen Trading
Trade in your aquatic machines here (across the tracks from Milky Fuel Station #2) for stamps.
| Picture | Name | Stamps |
|---|---|---|
| Confeito | 8 | |
| Crab Eater | 250 | |
| Demon Crab | 50 | |
| Egghead | 5 | |
| Frog Imitator | 4 | |
| Gedou | 10 | |
| Giant Unicorn | 400 | |
| Glass Crab | 15 | |
| Horned Frog | 80 | |
| Lancer Crab | 25 | |
| Mighty Claws | 1 | |
| Mock Root | 65 | |
| Monomorai (Male) | 300 | |
| Musk Crab | 10 | |
| Pink Glass Crab | 150 | |
| Spoon Head | 160 | |
| Red Frog Imitator | 40 | |
| Red Mighty Claws | 10 | |
| Root Mimic | 2 | |
| Rusty Frog | 20 | |
| Stinger | 100 | |
| Sucker (Male) | 340 | |
| Teal Two-Headed Gedou | 8,000 | |
| Unicorn | 220 | |
| White Egghead | 50 |
Upgrading Bogie
You can tune up your Bogie at Honda's Bogie Factory directly south of your room.
| Name | Parts Required | Stamps | Effect |
|---|---|---|---|
| Tuning (Type I) | Lathe Chuck | N/a | Increases fuel efficiency by 15% |
| Bogie Type II | Bearings, Spoke Wheels | N/a | Increases fuel efficiency by 10% |
| Bogie Type III | Hollow Shaft, Sealed Gearbox | N/a | TBA |
Upgrading Parts
You can tune up and upgrade your body at Moriwaki Customs on the third (3f) floor of the department store.
| Name | Parts Required | Stamps | Effect |
|---|---|---|---|
| Tuning Stage I | N/a | 500 | Increases max ego level |
| Tuning Stage II | Large Diameter Carburetor, Exhaust Collecting Pipe | 800 | Increases max ego level by 20% |
| Tuning Stage III | Bore Up Kit, Reinforced Frame, Oil Cooler | 1,000 | TBA |
| Install Reserve Tank | Reserve Tank (S) | 100 | Increases max fuel level |
| Install Reserve Tank | Reserve Tank (M) | TBA | Increases max fuel level |
Shop Stock
Torlop's Junk Shop
| Item | Stamps |
|---|---|
| Reserve Tank (S) | 500 |
| Reserve Tank (M) | 1,300 |
| Reserve Tank (L) | 3,500 |
| Large Diameter Carburetor | 700 |
| Exhaust Collecting Pipe | 800 |
| Bore Up Kit | 3,000 |
| Oil Cooler | 1,000 |
| Reinforced Valve Spring Set | 1,200 |
| Jet Kit | 1,000 |
| Reinforced Crankshaft | 4,000 |
Yoshibe's Luxury Items
| Item | Stamps |
|---|---|
| Silver Tray Stand | 500 |
| Swing Arm Floor Lamp | 5,000 |
| Wall-Mounted Fan | 3,000 |
| Large Fan | 15,000 |
| Sewage Hookah | 200,000 |
Gonbe's Fishing Tackle
| Item | Stamps |
|---|---|
| Fish Hook #1 | 1 |
| Fish Hook #2 | 2 |
| Fish Hook #3 | 5 |
| Fish Hook #4 | 8 |
| Fish Hook #8 |
15 |
| Fish Hook #10 | 30 |
| Fish Hook #0 | 1,050 |
| Fish Hook #100 | 1,100 |
| Ground Bait (Gold Label) | 20 |
| Ground Bait (Silver Label) | 10 |
| Mighty Claw |
3 |
| Root Mimic | 4 |
| Frog Imitator |
6 |
| Gedou | 30 |
| Gedou Fishing Information | 30 |
| Roly Poly Fishing Information | 50 |
| Rusty Frog Fishing Information | 30 |
| Sucker (Male) Fishing Information | 400 |
| Mock Root Fishing Information | 50 |
| Horned Frog Fishing Information | 50 |
| Stinger Fishing Information | 80 |
| Spoon Head Fishing Information | 80 |
| Unicorn Fishing Information | 80 |
| Doggy Frog Fishing Information | 80 |
| Monomorai (Male) Fishing Information | 100 |
| Monomorai (Female) Fishing Information | 200 |
| Giant Crab Eater Fishing Information | 500 |
| Giant Stubby Frog Fishing Information | 1,500 |
Characters
| Picture | Name | Description |
|---|---|---|
| Bulcaniro | Owner of Bulcaniro Toy Works | |
| Gimnon | Owner of the Ego Clinic | |
| Hajime | Helpful machine who hangs out next door to your house (to the left). He can give you advice on what to do toward the beginning of the game | |
| Juice | A female machine | |
| Lao | TBA | |
| Lee | Owner of the Milky Fuel Station #2 | |
| Lequeu | Resident of Fukuju apartments, likes to sleep | |
| Miya | A builder, owner of Miya Builder's Office, does not speak | |
| Psyche | A shadow | |
| Ulibhool | Runs Milky Fuel Station for Yang | |
| Yang | Owner of the Milky Fuel Station |
Dating
You can enter into a romantic relationship if you like. Implications of this are still unclear.
Changelog
| Date | Change(s) |
|---|---|
| 08/25/23 | Added more content to walkthrough, added character section, added to fishing section, updated CSS to be more mobile-friendly |
| 08/24/23 | Fixed table hover css, added to walkthrough, improved css |
| 08/23/23 | Initial site uploaded to Neocities |